
On 7/14 I brought my 17 model Nidzilla list to Game Empire Pasadena for a 1500 point 6th edition 40K tournament. There was a great turnout of 26, including both Yakface and Blackmoor. The TO wanted the event to be as close to the rulebook as logistically possible meaning rulebook missions, random objectives, allies, and fortifications were all in play. Naturally I didn’t face anyone with allies and forgot to roll for random objectives in every game.
In round two I was matched against Scott W., a Necron player.
Both Scott and I are going into this game with 20 battle points. While Necrons
is already a hard match up, Scott’s list looks like it could be a killer;
Overlord (MSS, Warscythe, CCB)
~Cryptek (Destruction)
Overlord (MSS, Warscythe, CCB)
~Cryptek (Destruction)
7 Immortals
~Night Scythe
7 Immortals
~Night Scythe
7 Warriors
~Ghost Ark
Annihilation Barge
Annihilation Barge
Doomsday Ark
My army is weak against three things; deathstars with
rerolls, mobile ranged dark elder, and mech necrons. The AV13 makes my mass of
S6 shooting far less useful, and the ability to have my units lit themselves in
combat with MSS is devastating when you consider they all have low leadership
values and AP weapons. I also do not have a way of dealing with fliers.
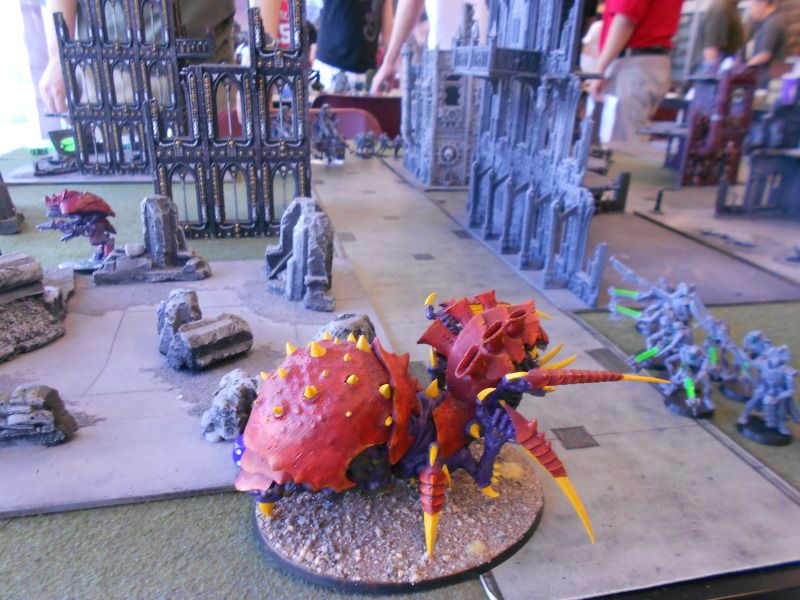
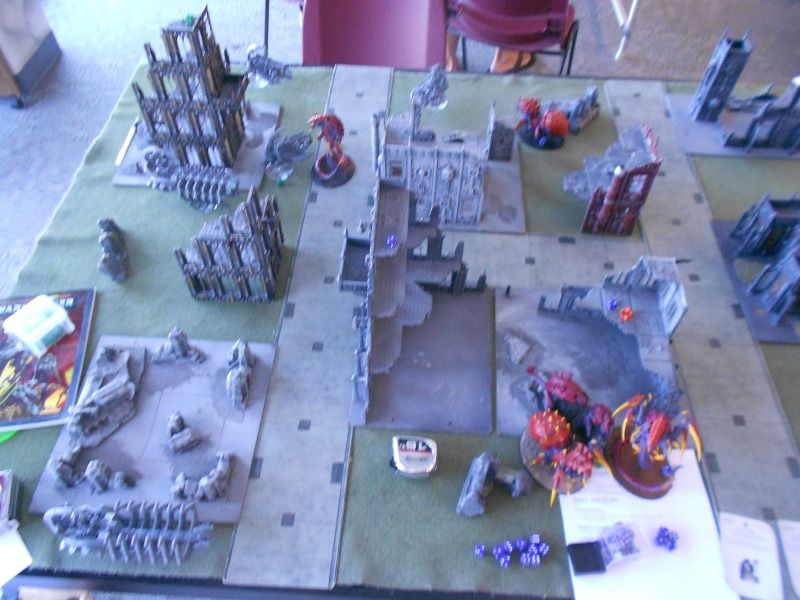
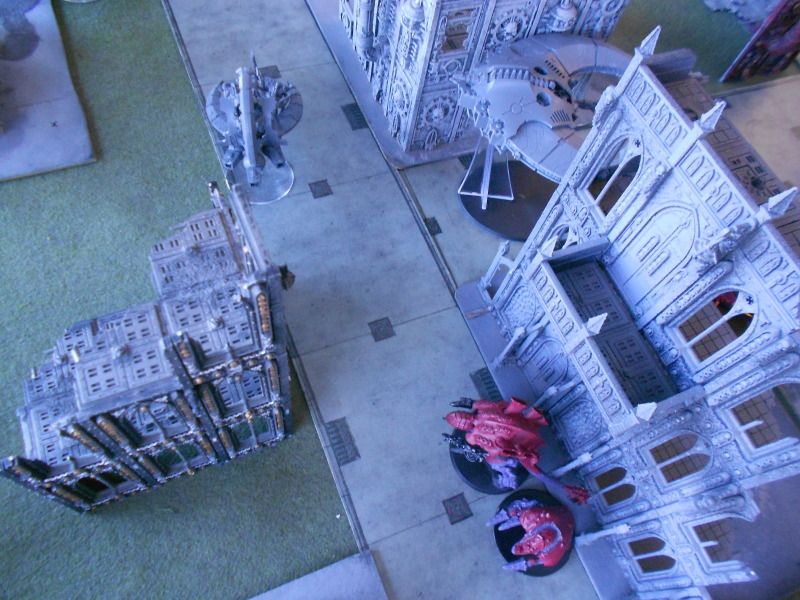
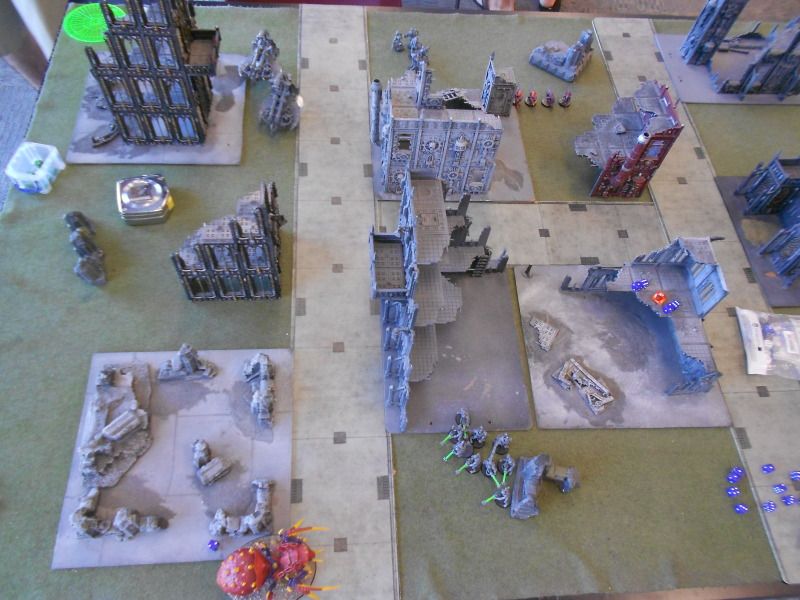
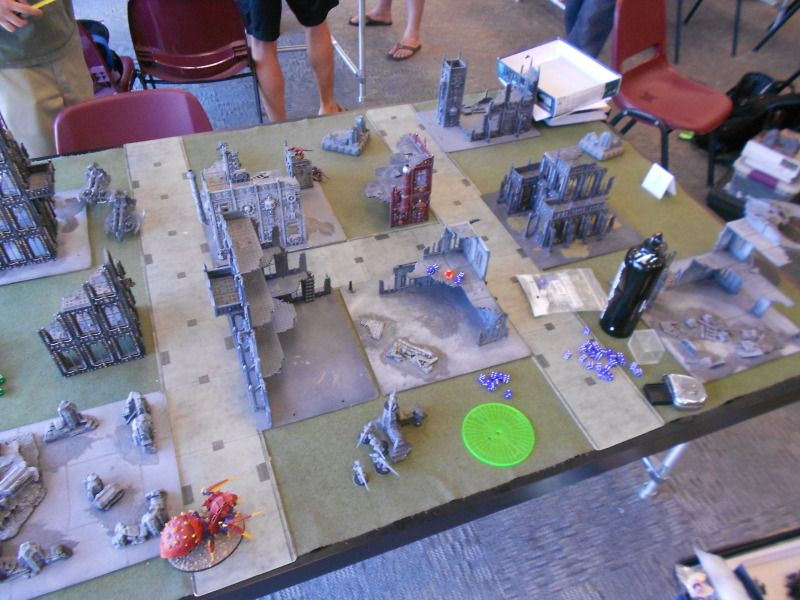
I deploy across the entire table, setting up to have cover
if he seizes. Similar to my
game against Tau I choose to not reserve my trygons (and tyrant in this
case) as I need to load the table with targets. This will hopefully prevent
focused fire and keep some things alive to get in combat. I choose to outflank
with my gants, keeping them off the table being that they are an easy kill
point. Scott matches my spread deployment putting both annihilation barges, a
command barge, and the doomsday ark in the top quarter and a command barge and
the ghost ark with warriors and crypteks in the lower half of the table. Night
fight was in effect and Scott did not seize.
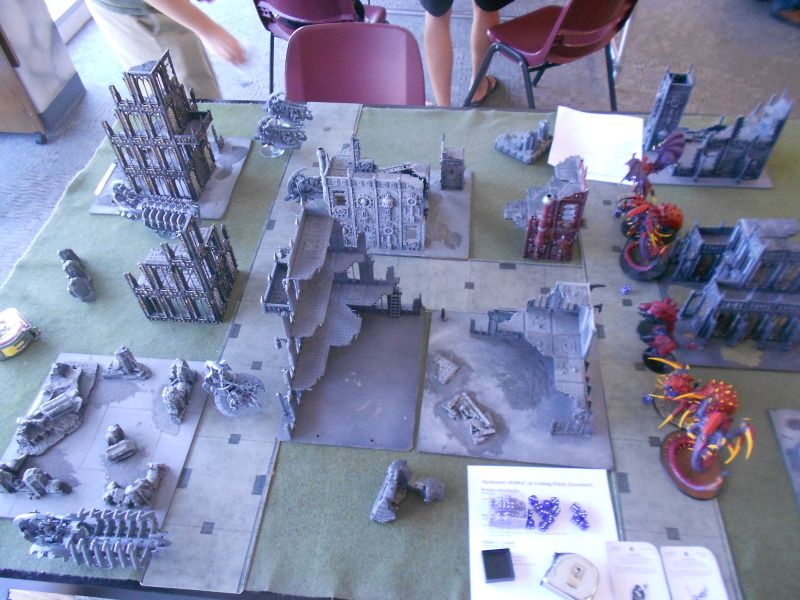
Tyranids 1
First move I make is a huge mistake – flying the tyrant out
of cover. I wanted to rush him forward to get rear armor next turn, but in the
process put him out in the open. My Tyrant has Endurance, and successfully gave
himself feel no pain with it. I shuffle the rest of my army forward in the
ruins with the tervigons giving FNP to the trygons, both tervigons perils with
double ones.
Necrons 1
Right away we have a rules issue as we are not sure if his
command barge can sweep attack a flying monstrous creature. I assumed that the
barge could only sweep grounded units, but after checking the rulebook and
consulting the TO it is ruled as a legal move. I lost a wound from the sweep.
He then shot the first annihilation barge, getting 10 hits off of his 4 shots.
All 10 wound, and I fail 7 3+ saves and 6 5+ FNP rolls losing my Tyrant. That
hurts as I lose not only a kill point, but my warlord, and first blood. Scott
then charged his chariot into my trygon. I failed my MSS roll and after combat
only have two wounds remaining, but held due to synapse.
Necrons 3 – Tyranids 0
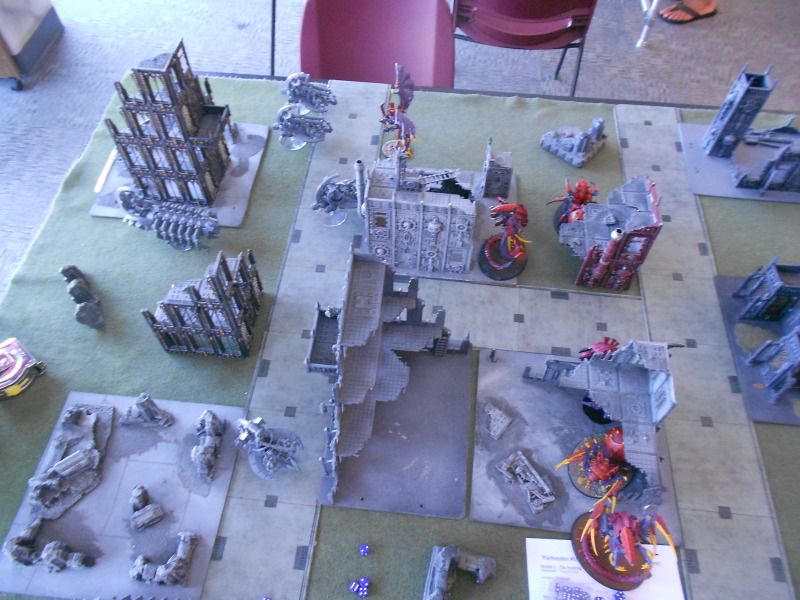
Tyranids 2
Up top I move my tervigon to a position seven inches away
from his command barge. I then move my trygon to be an equal distance from the
annihilation barge and the command barge. My reasoning here is to be in a
position where if the tervigon makes the charge on the chariot I can bring in
the trygon too. Having two models fighting the overlord means that even if I
fail my MSS roll I will still have one monster able to fight in the combat. In
the bottom I position my models to all charge the chariot which is fighting the
trygon. Up top my tervigon rolls a 4 on the charge, several inches short, so my
trygon charges the annihilation barge. I use a smash attack but miss all four
of my to hit rolls, and even with rerolls I only manage to get one hit. I end
up getting a weapon destroyed result and take off the tesla destructor. In the
bottom combat the tervigon randomly is decided as the MSS target, doing one
wound to itself. I explode the barge and put a wound on the overlord with my
attacks. The overlord attacks the trygon, failing to hurt it.
Necrons 2
Scott gets both night scythes in from reserve and drops off
his immortals at their base. In the top half of the battle he uses his shooting
to take out my tervigon, in the middle he sweep attacks my trygon and then
charges it. Between the Warscythe and a failed MSS the trygon goes down. In the
combat with the other overlord the tervigon is selected as the MSS recipient,
passing its Ld test. The trygon kills the overlord. It is at this point that I
ask which overlord was his warlord; it is the one which is still living. I
consolidate toward his front lines.
Necrons 5 – Tyranids 2
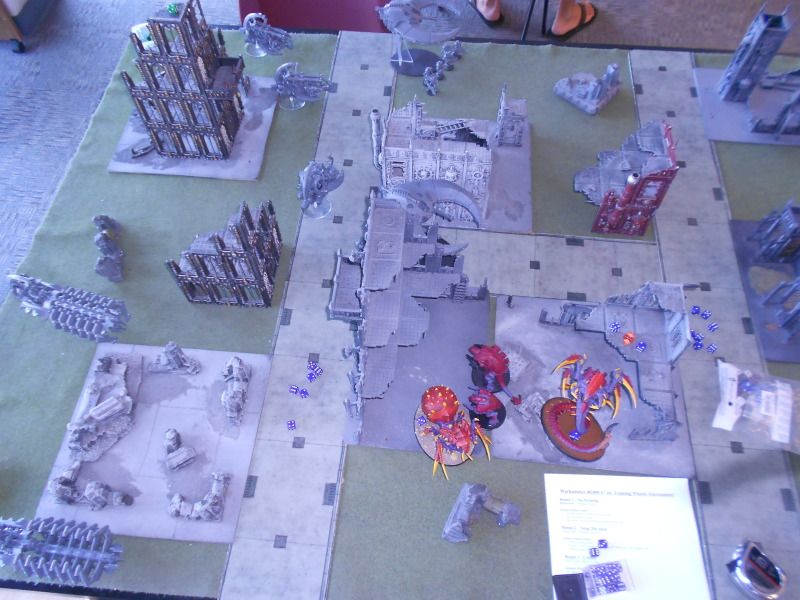
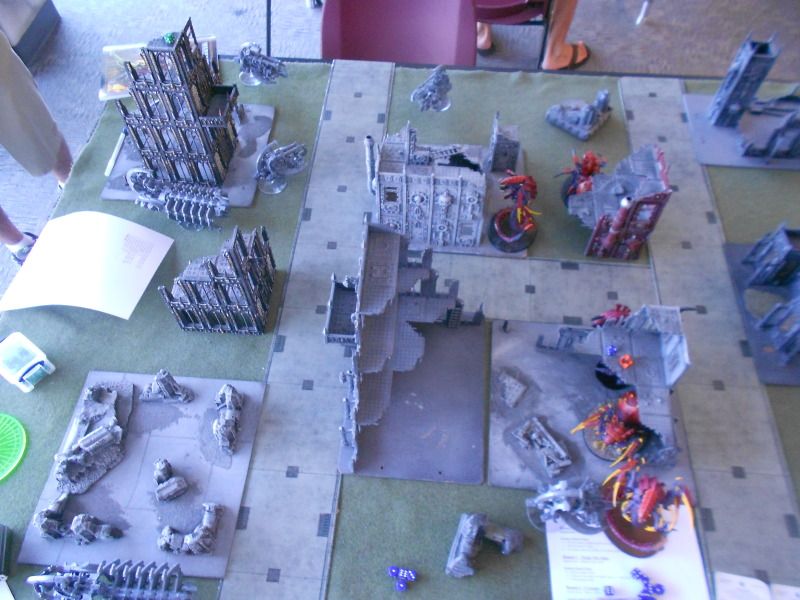
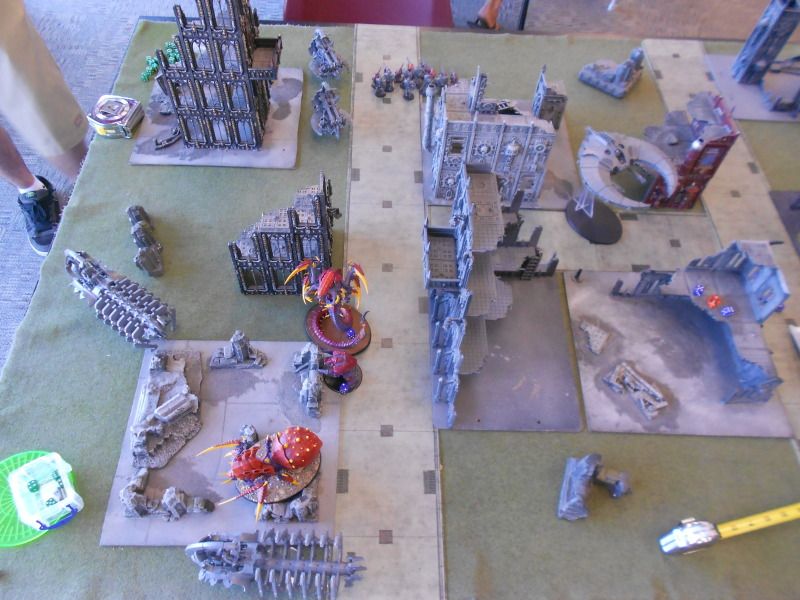
Tyranids 3
My gants do not come in again. I am relegated to a small
group of models in the bottom ruin. It is key that I get some kill points while
keeping them alive. I move the carnifex unit forward and cast Onslaught on
them. This will allow them to both move toward the doomsday ark and shoot the
immortals. The tervigon goes toward the ghost ark but leaves its base clipping
the ruins. The trygon takes a central position to intercept the vehicles on the
top as they come toward the bottom. I run the carnifex unit out so only the
back of their bases are in the ruins and kill all of the immortals from
shooting.
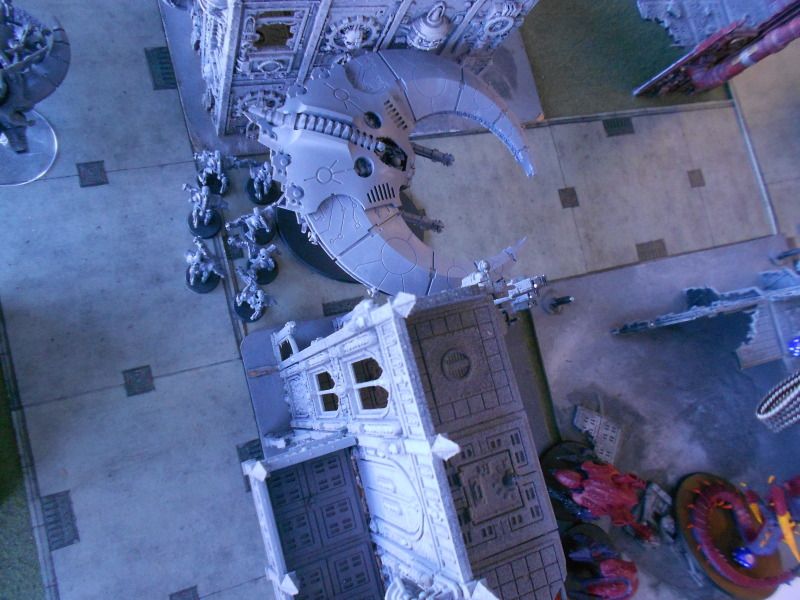
Necrons 3
Scott moves the central night scythe off of the table. The
top one moves into the middle of the table and takes a wound off the trygon,
bringing it down to one. Scott moves the ghost ark into rapid fire range and
unloads on the tervigon, doing two wounds I believe. Scott sweeps my carnifex
unit and shoots his vehicles at it, by the time he is done charging I am down
to one carnifex with two wounds left.

Necrons 5 – Tyranids 3
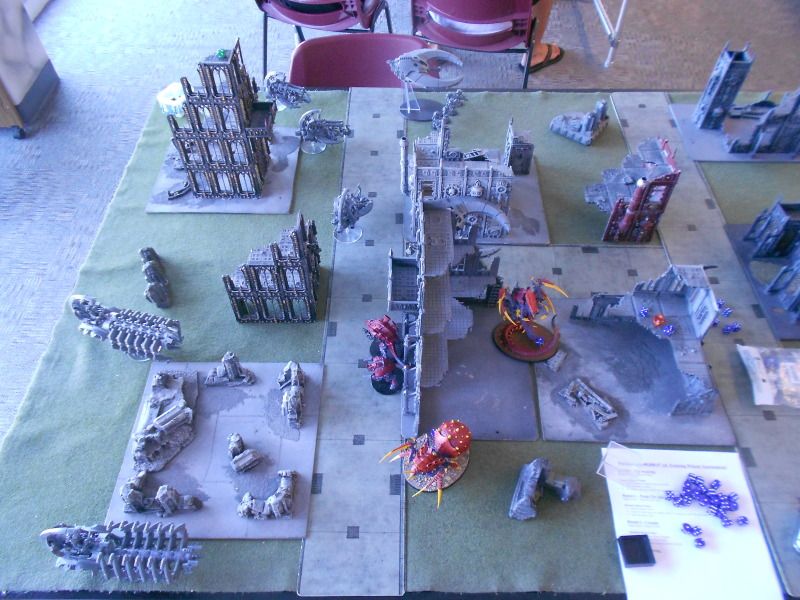
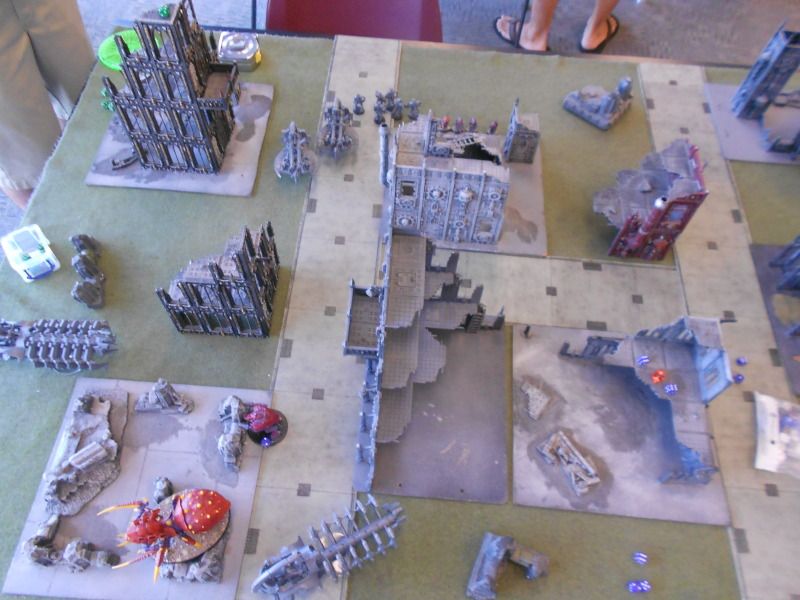
Tyranids 4
The gants come in on the top table edge. At this point I
need a home run to come out ahead, and knowing that gants are an easy kill
point decide to try and take the top immortals with them. I kill none shooting,
lose a gant from overwatch, and then lock in combat after neither side could
get a kill. This was illegal as you can not assault after coming in from reserve. The tervigon and trygon join the carnifex in combat with the
overlord. The tervigon gets MSS again and does one wound, bringing it down to 3
or 4 remaining. I explode the barge and kill the overlord. All of the models
consolidate forward trying to get cover.
Necrons 4
Both barges shoot at the trygon, killing it. The Carnifex
passes a few saves against wounds from the two arks. The night scythe from the
middle is hugging the far table edge. Not sure why the other one didn’t come
back on the table. The immortals kill 4 gants and I break from combat.
Necrons 6 – Tyranids 6
Tyranids 5
The gants continue falling back. The carnifex explodes the
doomsday ark and the tervigon explodes the ghost ark.
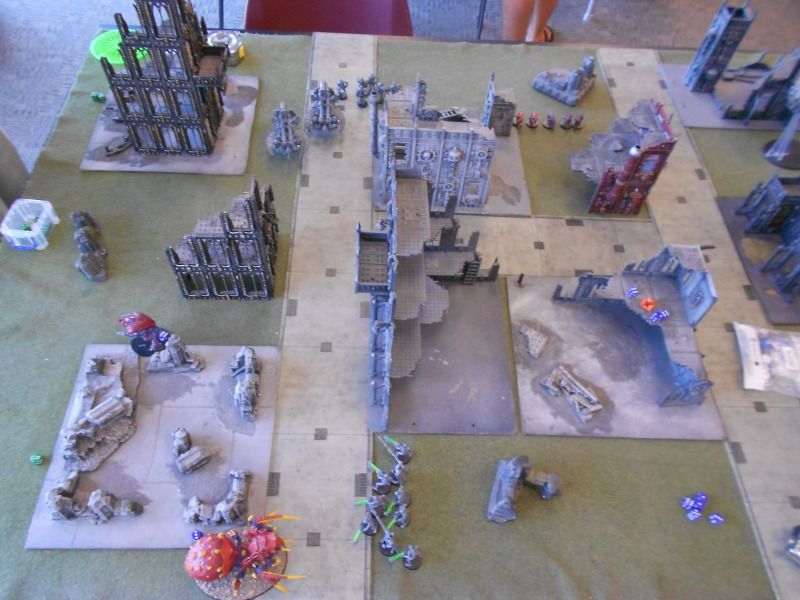
Necrons 5
There is still no sign of the off the table night scythe.
The other night scythe is still barely on the table in the bottom right corner.
His top units shoot and the carnifex and kill it. He fails to wound the
tervigon with the warriors and crypteks. His immortals roll poorly and only
kill one gant.
Necrons 7 – Tyranids 8
I am in shock that I am ahead right now after the rough
start. I roll the dice and the game continues. Due to time turn six would be
the last turn.
Tyranids 6
My gants regroup and position themselves in cover. Even
though this is a kill points game I spawn seven gants. The reason I spawned
them is so that if I wipe out the warrior squad I can have a bigger footprint
to prevent the everliving crypteks from getting back up. Shooting I fail to
wound the warriors squad. I charge in with both the gants and tervigon. The
warriors kill two gants ant between both of my units I kill four warriors. He
fails his leadership and I am able to run down his unit. I consolidate the
warriors into one ruin and the tervigon back toward the bottom left ruin. I
chose to go back this way as I would be able to get the area terrain bonus
while forcing his top vehicles to only be able to snap fire on me. The tervigon
has two wounds right now.
Necrons 6
The night scythe on the far edge is able to turn and stay on
the table. We measure the 90 degree turn several times as I am surprised by his
ability to stay on the table but he was correct. The other one doesn’t come on
again. He is just out of range of shooting the tervigon, so close we had to
call over an impartial eye. Instead he shoots it at the spawned gants who fail
every one of their cover saves. The top immortals kill two gants and the unit
breaks. It then comes down to the moment of truth, can his annihilation barges
get my tervigon off the table and out of his deployment zone? He rolls a ‘6’ on
tesla getting three hits, he does three wounds. I have a 3+ armor save and a 5+
FNP save, so I should be able to do this
right? Nope I fail two and the tervigon dies.
Necrons 10 – Tyranids 9
Talk about a close game. I was feeling pretty down around
turn two and three when I was losing models and he seemed invincible, but my
monsters really showed resiliency even in a bad matchup. I should have been
more conservative with my Tyrant as well. I could see an argument be made for
deploying all of my units on one flank, but I feel doing so could have given
him better positioning to have an extra turn of shooting before I could get in
combat. Not sure what ever happened to his other scythe, I think he just forgot
about it. I don’t believe it matters for scoring as without it he beat me by
one point and with it I am sure he would have been able to take out some of my
units even faster.
Coming up: 3 Battle Wagons, Some Lootas, and a Load of Orks
Waits for me in Round 3!
Nice battle report.
ReplyDeleteLove the battle report but FYI, units in ongoing reserves count as destroyed if the game ends meaning him forgetting to redploy the flier should've resulted in a tie
ReplyDeleteMy take on it is that he simply forgot about it. If he remembered then I would have been tabled. At an RTT I think it would have been silly to try to get a win on a fluke like that, especially with the edition just coming out. If Scott would have been rude or hypercompeditive with me then maybe, but as it was I will take a loss to a nice guy and remember to watch for forgotten fliers in the future.
Deletea lot of mistakes, but a lot of interesting things too. Keeping onslaught for dakkafexes is wise, I have to try this next time.
ReplyDeleteNevertheless, I still don't feel that Trygons worth their points. May I ask to make a short summary of Trygons in 6th?
Just added the Trygon article to my to do list.
DeletePersonally I would say that they are worth every point. The ability to wreck vehicles reliably (except in this game :P) as well as take out any non-stormshield infantry is fantastic. Not to mention they are my favorite model in the range.