
On 7/14 I brought my
17 model Nidzilla list to Game Empire Pasadena for a 1500 point 6th
edition 40K tournament. There was a great turnout of 26, including both Yakface
and Blackmoor. The TO wanted the event to be as close to the rulebook as
logistically possible meaning rulebook missions, random objectives, allies, and
fortifications were all in play. Naturally I didn’t face anyone with allies and forgot to roll for random objectives in every game.
In round three I was paired against Keith and his battlewagon
Orks. I misplaced my copy of his list, so here it is from memory;
Big Mek (KFF)
10 Lootas
10 Lootas
10 Kommandos (Boss Snikrot)
20 Shoota Boyz (PK Nob/2 Big Shoota?)
20 Shoota Boyz (PK Nob/2 Big Shoota?)
19 Shoota Boyz (PK Nob/1 Big Shoota?)
Battlewagon (2 Big Shootas/Deffrolla/Red Paint)
Battlewagon (2 Big Shootas/Deffrolla/Red Paint)
Battlewagon (2 Big Shootas/Deffrolla/Red Paint)
Aegis Defense Line
The game was dawn of war (formerly known as pitched battle)
and we rolled three objectives. Keith wins the roll to go first and I
successfully roll night fight for turn one. I do not seize. Keith rolls
something unimportant for his warlord, but I roll +1 Victory Point for every
challenge I win. I do not recall what psychic powers I rolled.

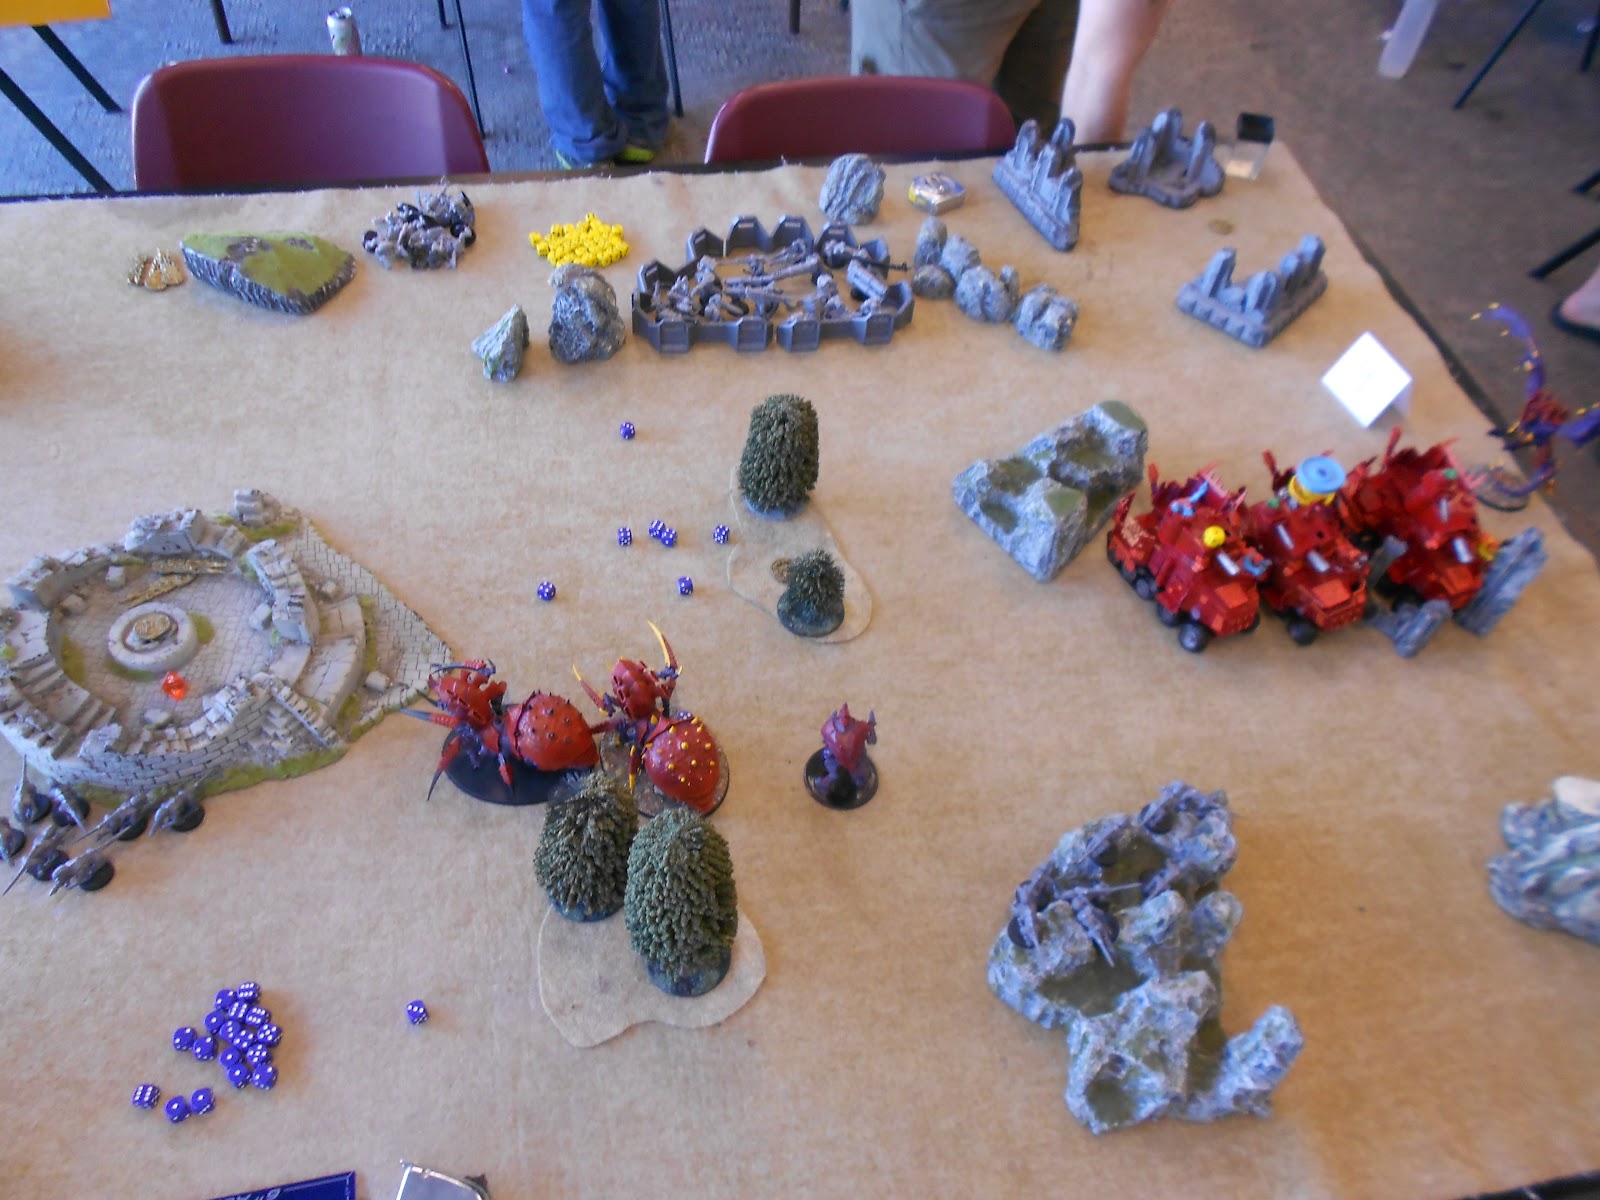
The objectives are placed one in the center of the round terrain on the left, one between the center trees, and one in the rightmost ruins in his deployment zone. He places both loota squads in the aegis and puts the boyz in the wagons. Big Mek is in the center wagon. While he had the rolla bits we left them off so they would not get in the way. I place my tyrant behind cover so that with night fight cover I should be very safe. Troop tervigon is on the far left to hold that objective and the rest is set up to intercept his army from whatever angle he approaches. I am outflanking the gants.
Ork 1
Keith brings his wagons to 18.1” away from my trygons. His
shooting brings me no damage.

Tyranids 1
The hive tyrant swoops down the right flank and takes two
hull points off of the right wagon. The troop tervigon makes a small squad who
run out of line of sight on the left, no doubles. The HQ tervigon makes a small
squad as well without doubles and they scramble into cover. After KFF saves the
carnifex unit only does one hull point to the left wagon. Here is my game
changing mistake in this round…I move the trygons forward. Being unable to
charge I move them into terrain. I figure either he charges me through cover
with the boyz or I get to charge him next turn. Silly me forgot all about the
deffrollas.

Orks 2
I want to go on record and say that the deffrolla forgetting
was 100% me being an idiot and in no way related to the bits not being on the
models. Not only did Keith make it clear they had rollas, but I play battlewagon orks and know that is to be expected. I made a mistake. Keith rolla’d
both trygons three times, bringing each down to two wounds. He then shot all
the boyz and the wagons at the trygons killing them both. Ouch, what a dumb way
to lose 30% of my army. Both loota squads shot at the carnifex unit killing
one. No kommandos this turn.
Tyrands 2
Time to turn up my game. I vector strike the right wagon and
get a lucky ‘6’ taking off the last hull point, wrecking it. I shoot the tyrant
at the left wagon and take a second hull point off. The remaining carnifex
moves into cover and fails to take the last hull point off the left wagon as
Keith passes both KFF saves. No gants show up from reserve, but both tervigons
make new squads without doubles. One moves into the left terrain and the other
moves forms a wall out of rolla range that will prevent a long Ork charge from
tying up my tervigons. The tervigons also shoot cluster spines at the left
loota squad killing a few, but they pass morale.

Orks 3
The battle wagons move forward and shoot at the carnifex who
has FNP, bringing it down to two wounds. This is very smart of him, if he bides
his time he can crash both of my gant parties later in the game and
take/contest those objectives while his third squad walks to the home
objective. The lootas do one wound to the HQ tervigon.

Tyranids 3
My gants come on one the left and start working their way
toward the center. I string my current squads around so as to stay in synapse.
Both tervigons get doubles on smallish squads and push them against the aegis.
They shoot and bring the left loota squad down to one model. I ventor strike my
tyrant to kill this model and then shoot into the right loota squad. One
tervigon also targeted that squad. These lootas failed morale and ended up
running off the table. The next mistake I made was on the HQ tervigon’s psychic
powers. Because of premeasuring I knew I could get the carnifex in range of the
yellow orks on the top right with onslaught, so I move him into the line of
fire knowing his sacrifice will hurt that mob, saving the tyrant time. Instead
I cast catalyst on him leaving him in the open with no targets. To make up for
her mistake the tervigon kills eight from the mob with a perfect cluster spine
attack.

Orks 4
Keith deffrollas the carnifex, killing it. He shoots at the
tervigons, but their toughness protects them. He continues moving his yellow
squad toward the rear objective. The kommandos come on and he picks his table
edge. Keith admits he didn’t know until during round one that he couldn’t
charge from reserve, and thus regretted having them in the list. He is smart
here I feel, setting up a tough choice for the tyrant. I fail my grounding
check from their shooting and take a wound.
Tyranids 4
Both of the left two gant squads failed their instinctive
behavior and lurked around. The two gant squads in his deployment rolled snake
eyes and a ‘3’ to get over the aegis, so they just shoot the kommandos from
where they are, killing none. I glide the tyrant over to the yellow boyz, but
don’t shoot as I want to make my charge. I challenge the nob and kill it. Keith
figured if I wiffed my attacks at least he could put some wounds on me,
forgetting about my warlord trait. The mod is at 11 and thus holds. I roll very
poorly on both tervigon movements toward the battle wagons. Only one makes its
charge, and through smash attacks explodes the mek’s battle wagon, killing
seven orks.

Orks 5
Keith moves the kommandos into combat with the tyrant after
a strong charge range is rolled. I challenge and kill Snikrot. The kommandos
fail their morale and run off the table. While they died, they protected the
shoota boyz from losing fearless and thus tie up my tyrant another turn. The
blue boyz hop out and charge my HQ tervigon killing it and fully taking up the
center terrain and objective. Their wagon gets closer to tank shocking gants
(getting in position for once my synapse is lost/assaulted out of position).
The orange squad charges my troop tervigon, holding it in place as it fails in
combat. The yellow gants hold against the tyrant.
Tyranids 5
I move all the gants closer to the center squad (except the
top two which I forgot). They all shoot, and kill seven. I try to charge them
all in, but only one makes the roll, losing three to overwatch and then dying
in combat. I hoped to get one to lock in with fearless to contest the
objective. The tervigon stays locked and the tyrant ends up running the boyz
off the table. The game ends.
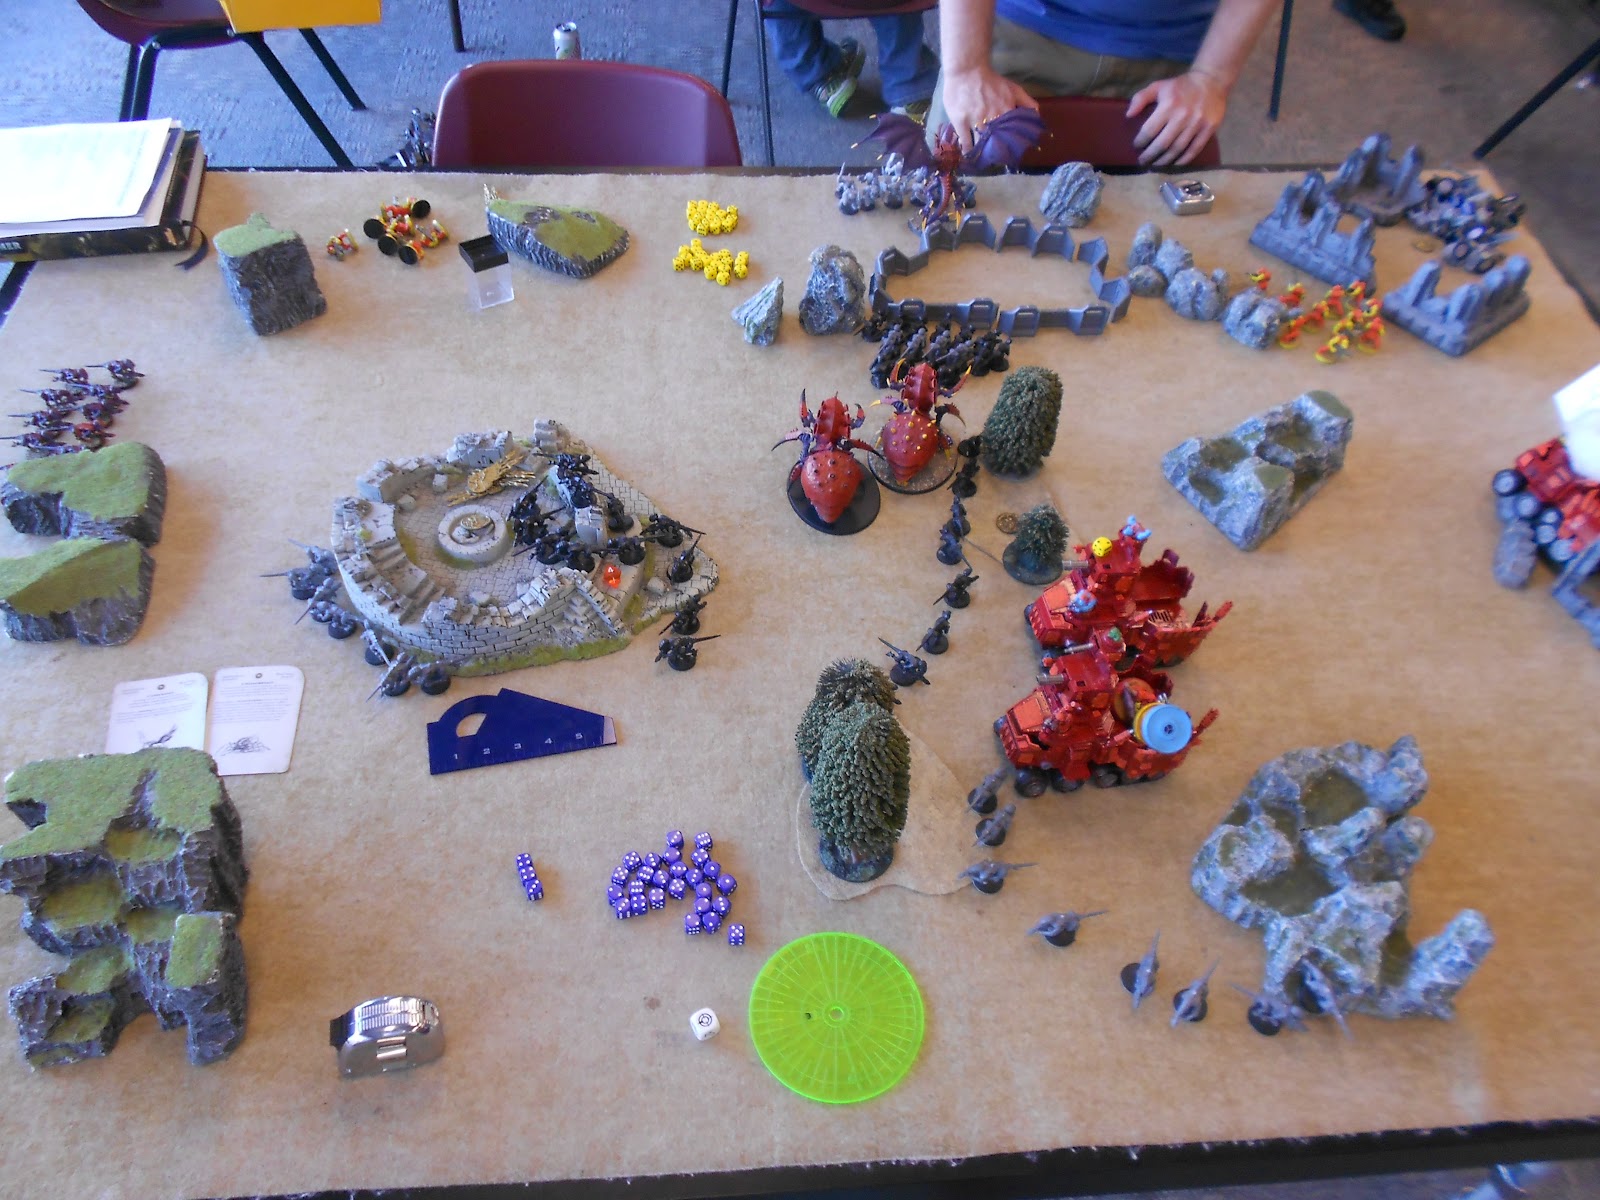
 |
| Overview at the end of the game. |
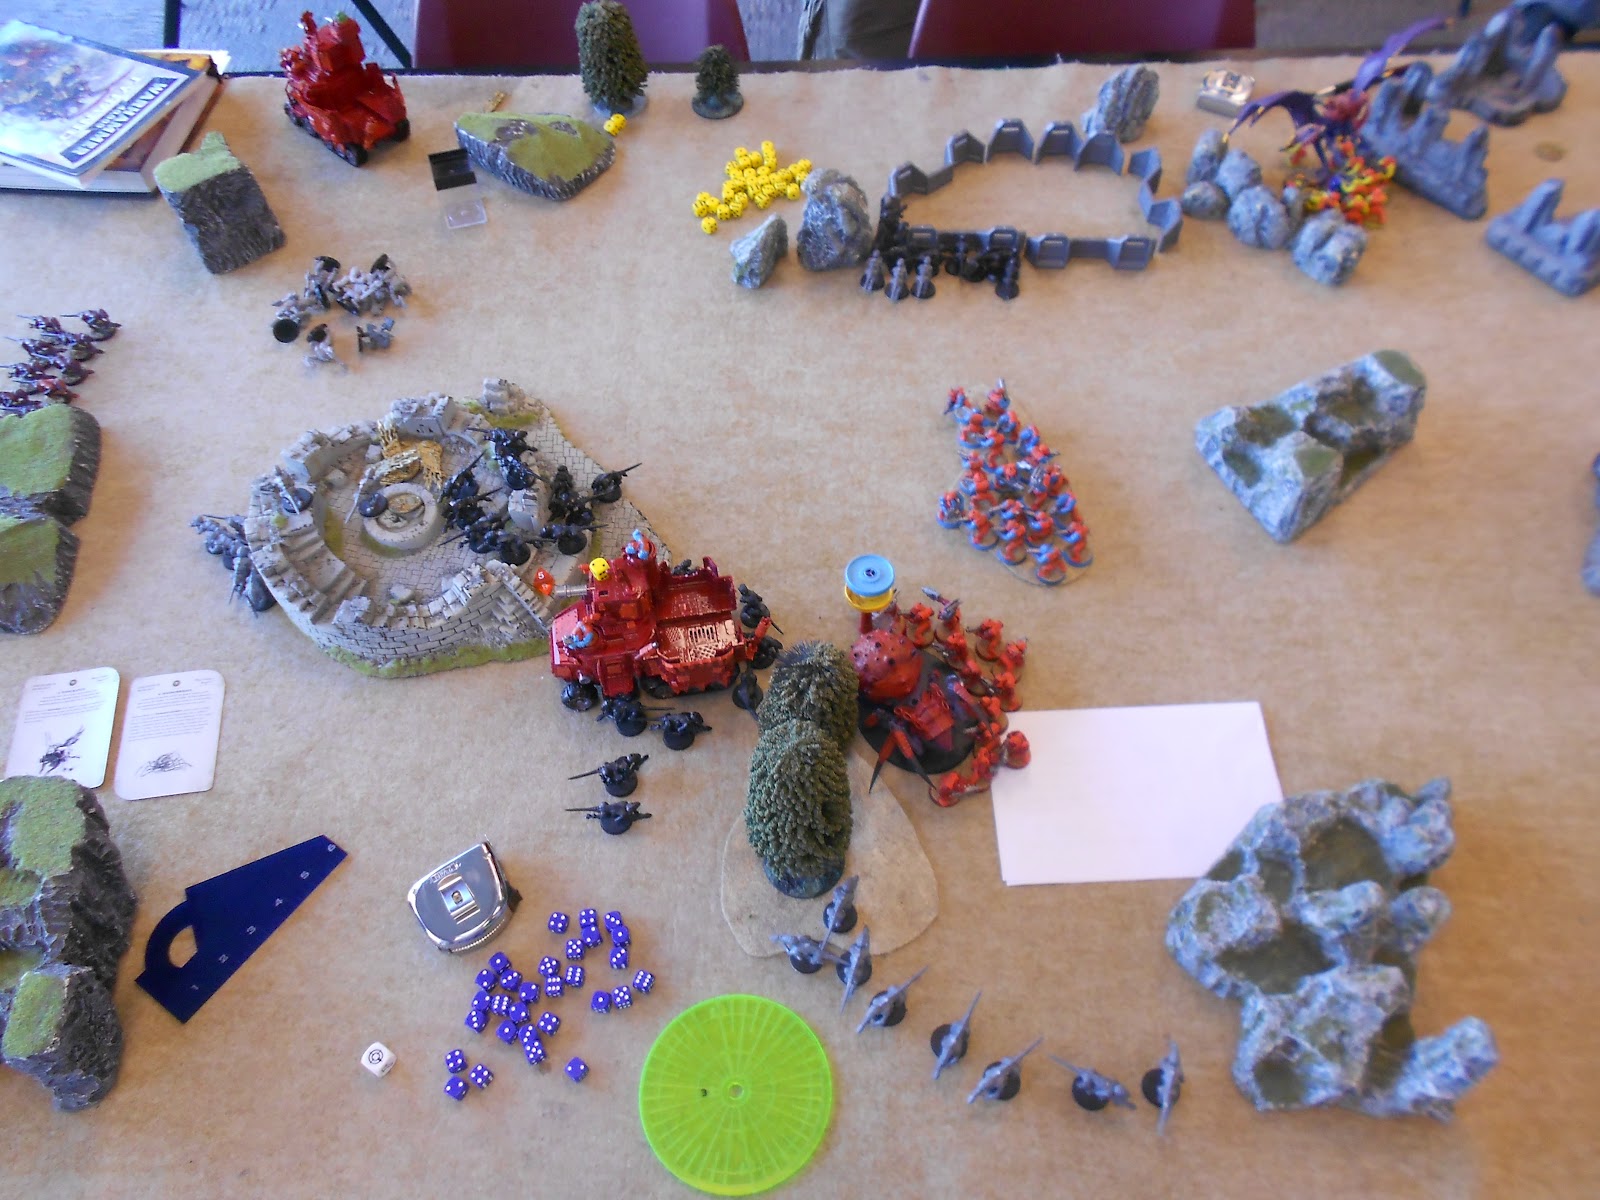
 |
| My objective. |
 |
| His objective. |
Keith and I shake hands and he mentions winning (the orange
boyz are just in my deployment zone), and I point out that my two challenge
kills take the game from 4-5 to 6-5, winning me the game. This took Keith by
surprise, but he agreed that this was the case. Playing it out longer wouldn’t
have changed much though even without that warlord trait. The tyrant was free
to finish off the battle wagon and I had plenty of gants to contest the center.
Not sure why I made so many mistake in this one, I need to
not get so distracted with the technical (moving into terrain to deter the
charge while flanking him at the same time) and not forget about the simple (like
not getting ran over by a deffrolla!). I do think this game shows though how
gants are never to be trifled with, as they were always in the way of his plans
and ready to make a game of it.
The blog will be quiet the rest of this week as I have to fly
back to Minnesota for an officer course. Look for new content on the first of
August.
I really enjoyed this batrep and like your army list. The game was very exciting throughout each turn. I think we all make some mistakes every game but you recovered very well.
ReplyDeleteIt looks like 6th ed made battles a bit more unpredictable now. 1 warlord trait turned the game results upside down. Nice batrep, it was interesting to read.
ReplyDelete